
Creating a Jira workflow is one of the most fundamental aspects of setting up your Jira instance for your team, but documentation on creating a workflow can be very confusing and overwhelming. Below I have simplified the process into a few short steps.
Talk to the team
The very first thing I do is talk to the team since they will be the ones using the workflow day-to-day. Some questions I ask:
Initial / overarching questions:
- What are they looking to achieve with the workflow?
- What are the steps they follow when working?
- Who is involved in these processes?
- What does “Done” mean to them?
Then, I dig down a bit deeper:
- Are they looking for automation?
- Are there things that should be forbidden as part of the workflow?
- What sort of fallbacks are necessary?
- Are they looking to use Jira to manage their releases as well?
Map out the statuses
Next, I try to group the tasks into logical steps. Generally, they all follow the same pattern:
- Before you start = To Do
- While you are working = In Progress
- Review the work = In Review
- Process to bring to completion (Varies by team)
- Complete = Done
For different teams, these 5 groupings will mean different things. For example, for a visual design team, the steps might be:
- Before you start = To Do
- While you are working = In Progress
- Review the work = Internal Review
- Process to bring to completion = Client Sign Off
- Complete = Done
Or, another example, for a development team:
- Before you start = To Do
- While you are working = In Progress
- Review the work = Code Review and QA
- Process to bring to completion = Merged to Release Branch
- Complete = Released
Once I’ve decided my statuses, I will input those in Jira. Make sure you correctly categorize your statuses under the correct category (To do, In Progress, or Done).
Establish and Add Transitions
How does one get from one step to another? This is how you bring your statuses together. Make sure you get input from your team when establishing what transitions are allowed and not allowed. For example, you don’t want to allow someone to go from “In Progress” to “Done” without going through a review.
There are a few ways to add transitions in Jira; my preference is to view the diagram, and physically drag and drop an arrow between my statuses to open the transition dialog box.
Ensure you include both successful and unsuccessful transitions; for example, what happens if a ticket fails code review? Make sure to include a transition from “Code Review” back to “To Do”.
Establish and Add Fallbacks
What if someone mistakenly moves a ticket from one status to another? Ensure you have the ability to go back to where you came from, just in case. Talk to you team about what fallbacks they want in place.
Adding Post Functions
Post functions might seem complex, but they are a critical part of your workflow. Post functions is an automated workflow function that performs actions after an issue transitions to a new status.
The most common post function I use is one to update the resolution status of my tickets. I use the resolution status to identify the completion status of my ticket. My resolutions that I generally include on a project are:
- Done
- Won’t do
- Cannot reproduce
- Duplicate
Then, after adding those individual transitions, I enter my post function to update my resolution status to match my transition.
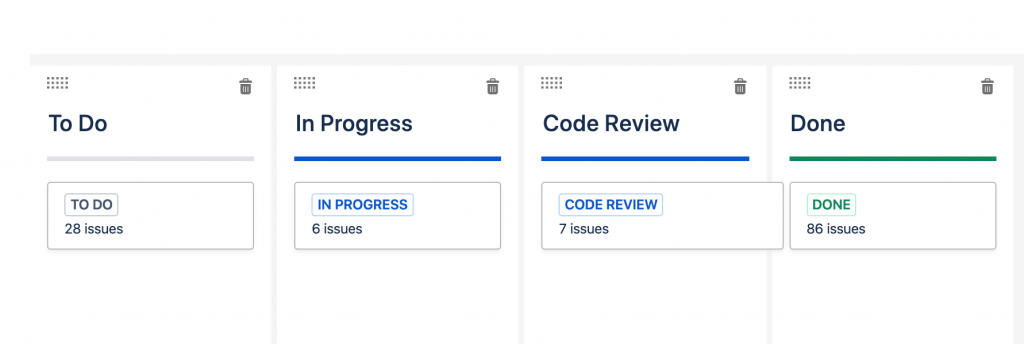
Mapping your Statuses to Columns
The last step is to map your statuses to the columns on your board. I like to try to keep them 1:1 if possible.
Next Steps
Some additional functionality that Jira offers to improve your workflow setup:
Workflow Schemes: This allows you to choose several different workflows for the same project and will assign the ticket to the appropriate workflow depending on the ticket type.
Triggers: Jira integrates with other tools like Github and Crucible to automatically move tickets between statuses. It even allows for “Smart Commits” which can simplify the product-switching your team may do.
Conditions: Conditions allows you to limit which tickets can follow specific workflow transitions. This can be limited by many factors including:
- By user (must be an admin, or assigned a specific group or role)
- By field (a custom field, standardized field must meet a given value)
- By subtasks (subtasks must meet a certain condition)
Additional reading:
> Learn more about Kanban boards in What is a Kanban board and when should I use it?
> Land your next position with Scrum Master interview questions and answers
> Improve your process at a Waterfall-style organization What can we learn from Scrum even if we can’t do Scrum?
Leave a Reply